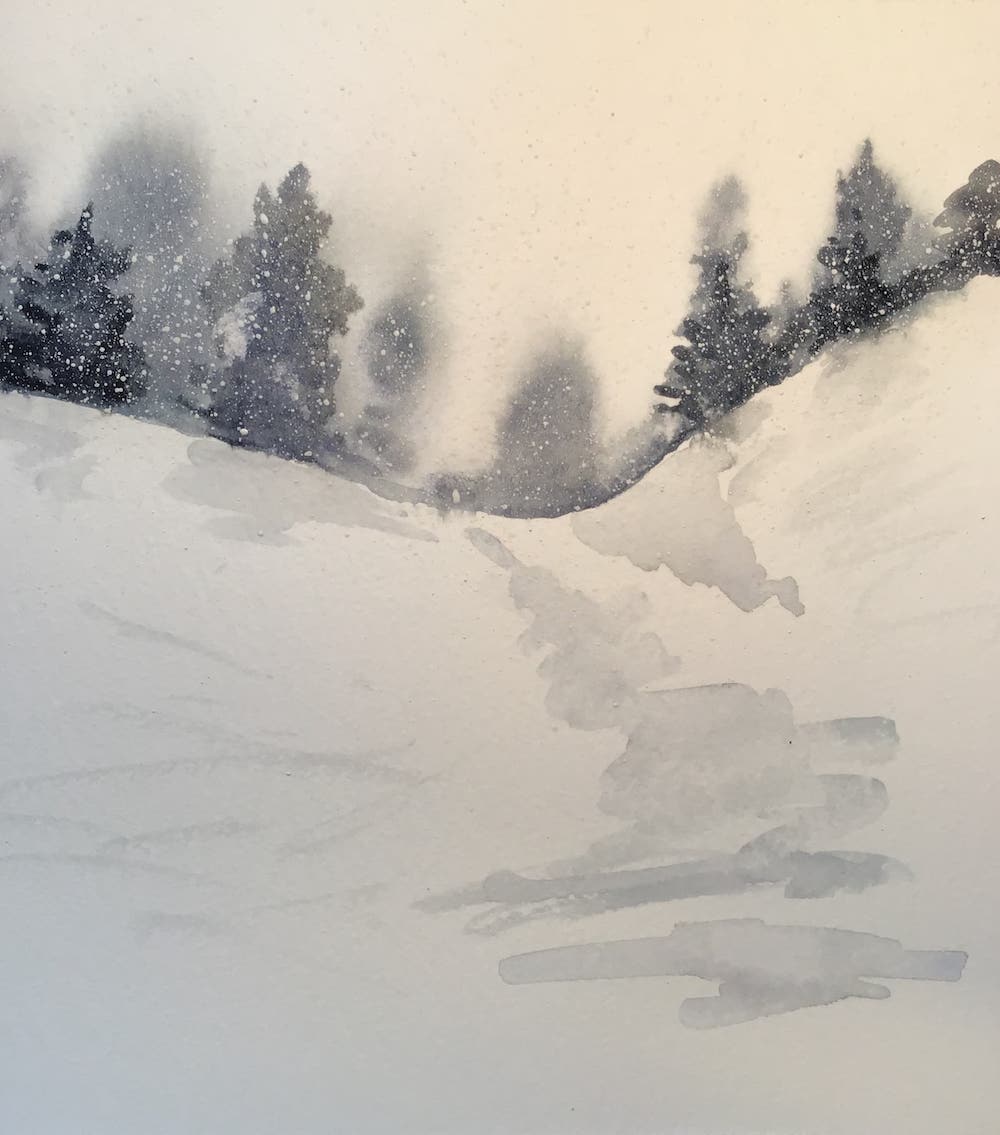
Using a few simple and fun techniques, you can create a chilly, wintery watercolour scene.
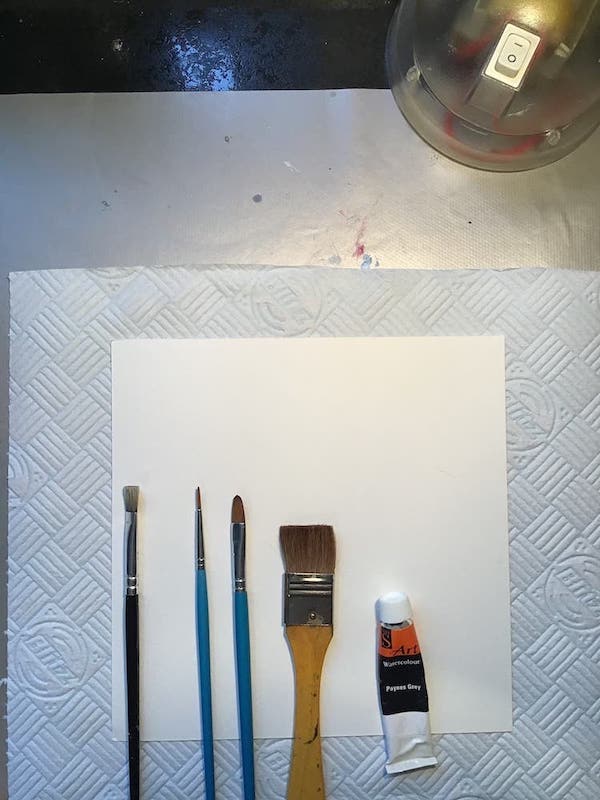
You will need
- A few different size brushes
- White paper (special watercolour paper is best)
- Grey and white watercolour paint
- Water!
Step 1 - wet your paper for your skyline
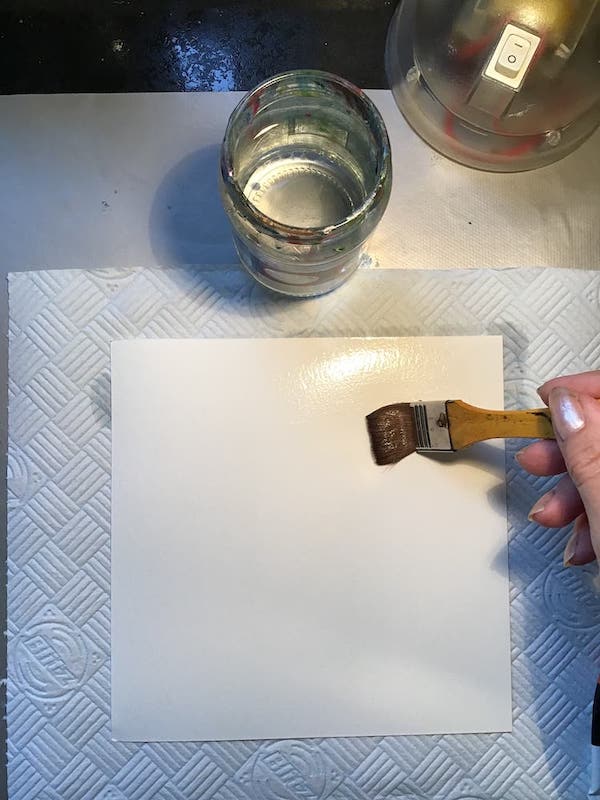
Using a big brush, wet the paper where your skyline will be. In this example, I draw a valley shape for my snowy scene.
Step 2 - add trees in the distance
Making sure your paper is still wet, mix your grey watercolour up in a watercolour tray or palette. With a wet brush, begin to add some grey shapes for your trees that are in the distance. You want the paint to bleed into the water to make your trees seem really ghostly.
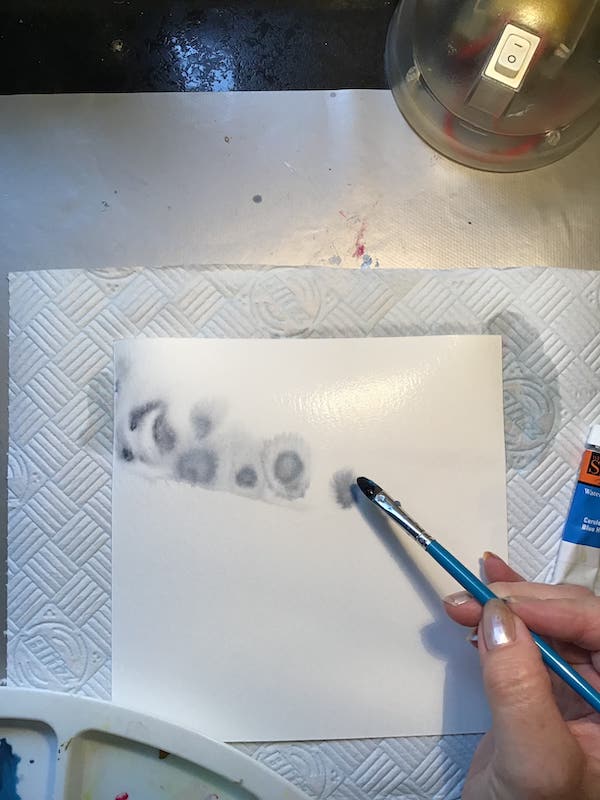
Step 3 - add depth to your distant trees
While the paper begins to dry, add some darker, less blurry details to your trees. The colour will still bleed a little, but now you should have more control over where the paint goes.
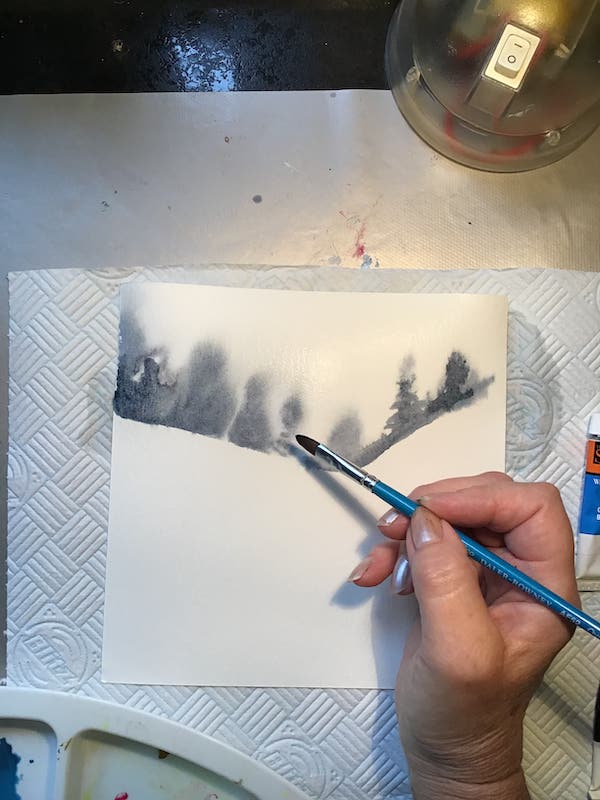
Step 4 - foreground details
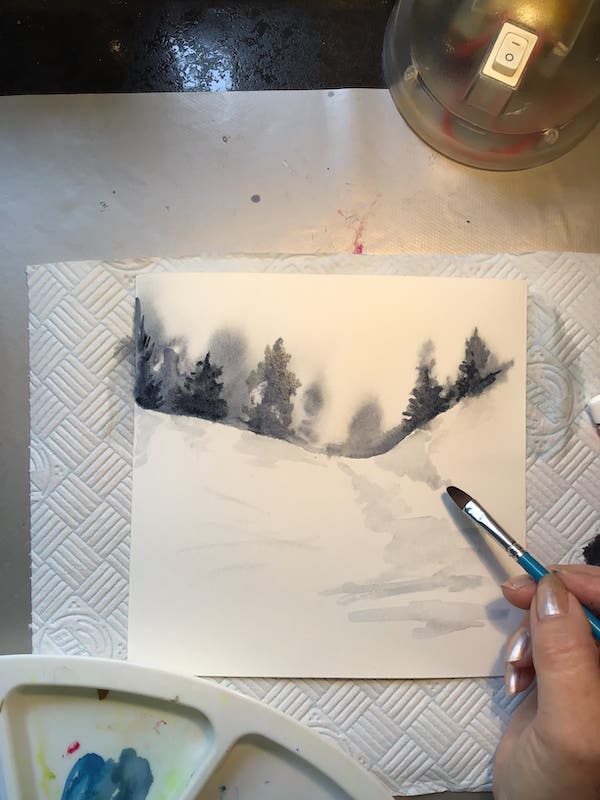
While you are waiting for the skyline to dry, add some shadows to create the valley in the foreground.
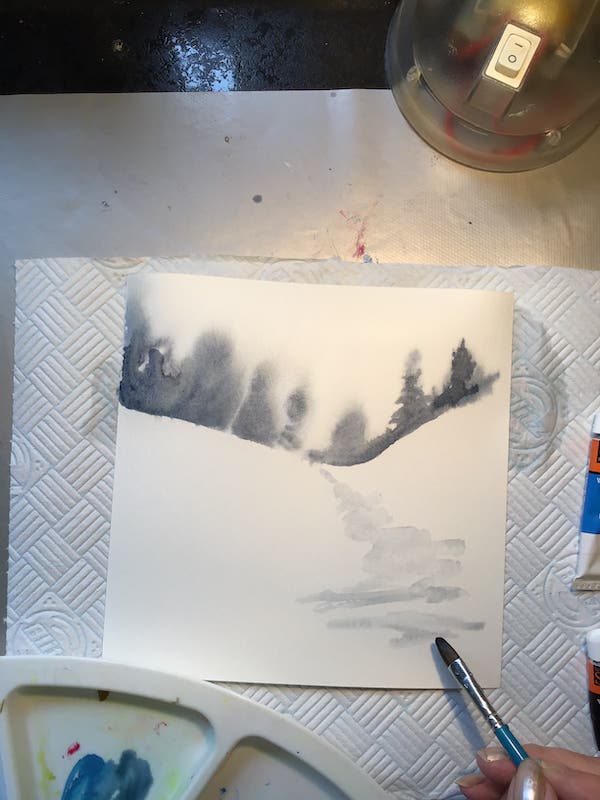
Step 5 - finish off the trees on the horizon
Now the wet paper has dried, you can finish off the trees by adding darker details. As the paper is dry, you should be able to add fine details like smaller branches.
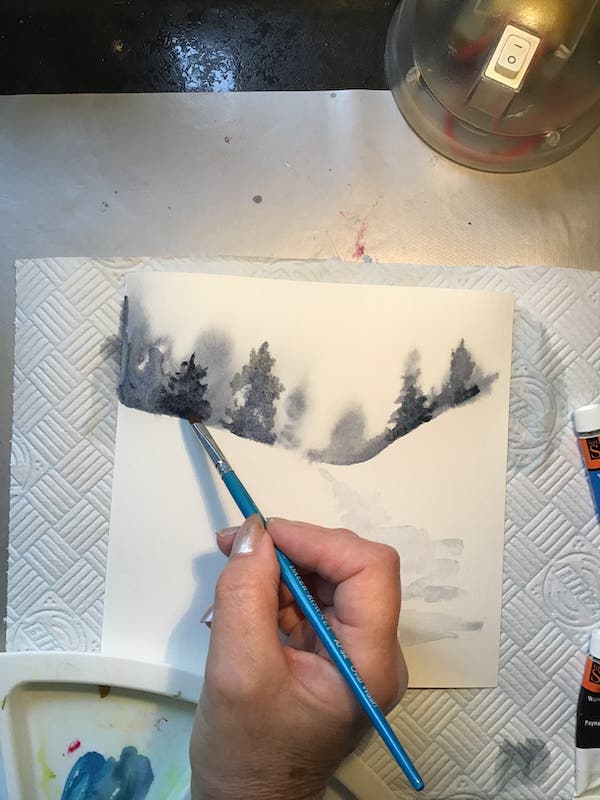
Step 6 - more foreground details
Add shadows for the trees you've just painted. Add more shadows to the snow in the valley to give it a bit of texture.
Step 7 - make it snow!
Load up a short-bristled brush with your white watercolour paint, making sure to keep it thick.
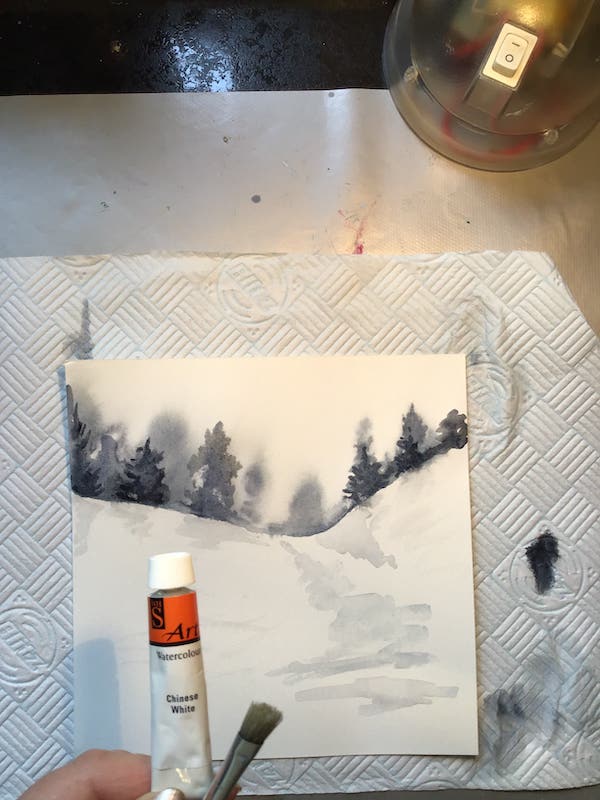
Now, pull your fingers across the bristles to flick the white paint onto your picture to complete the snowy look.
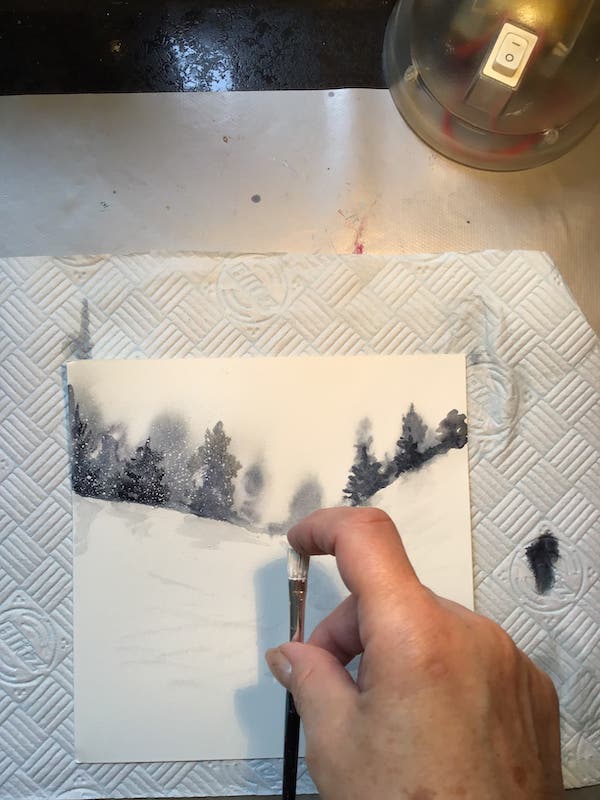
I hope you learned something new from this. Here's my finished version of my wintery watercolour!
