
This is the first in a three-part series on oil pastels from ZDI. This part is an introduction to the medium.
When I first tried oil pastels, I hated them! My work looked like some child had scribbled with some crayons. I had no control over where the lines should go and couldn’t really add highlights are shadows:
Now I love them. However, they aren’t a popular medium so there’s very little out there on how to use them and I spent ages trying to find anything out about how to use them. So before starting the project, I thought I’d share what I found out from the various websites and other artists I shamelessly harassed for their tips.
Advantages
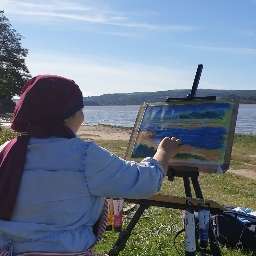
They are pretty direct. You don’t need water, surfaces don’t need prepping - no stretching needed (unless you’re using medium heavily), you don’t need brushes or a mixing palette. They don’t need to dry before applying another layer so you can work fairly quickly and they make some lovely textures. They also a pretty transportable so great for taking on holiday or on location.
Challenges
The thing with oil pastels is
they’re thick and round, they are basically crayons - so you’re not going to get any fine lines or fine details like you do with pencils;
they don’t usually cover the paper on the first pass, they leave gaps and look uneven;
they are the colour they are (it’s not like paint where you can mix colours on a palette and keep adding a complementary colour to get darker and darker).
You basically don’t draw with oil pastels like you do with pencils - nor do you paint with them like paints, it’s kind of in between with a bit of sculpting thrown in.
Top tips for working with oil pastels
These are my top tips:
Layer the pastels. You hardly ever finish the piece with just one layer. You should expect to apply a minimum of 3 layers. The exception is when you want the paper showing through for artistic reasons.
Mix your colours straight on the paper. Yup - your paper is your palette. So before you apply colour think about where your shadows are, where your highlights are and what complementary colours do you want to use. If you’re familiar with painting, the same concepts apply, apply green under red you’ll get a dark red or brown, apply blue under orange, you’ll get grey and if you apply purple under yellow, you’ll get a different kind of grey.
Start dark, work lighter. It's the opposite of watercolour where you start light and get darker or acrylic where you start with mid-tones then dark then highlights. Generally add lighter colours over dark to tone them down. You do need to be aware where the highlights will be so you don’t add too much dark colour underneath.
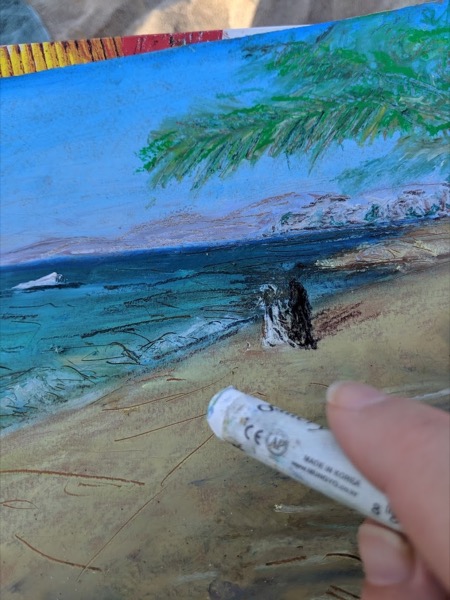
You can partially cover a darker colour to create lines (the dark colour peeking through being the line) or scrape a layer of the lighter colour to show a line of the darker colour underneath.
Oil pastels blend beautifully and move around the paper. So you use this to push the colour around the surface, it creates movement. Once you have a few layers on, it can feel like you’re sculpting. It can be a bit like working impasto with paint.
Work big. You can’t get tiny details like you can with pencils. At least I’ve not worked out how to achieve it without adding a second medium like pencils. If you make your subject bigger you have more scope to get some details in.
That's all for the first part. In the next part we'll look at the different materials, papers and tools you'll need including some personal recommendations!