
One of the fundamental techniques in watercolour is called wet-on-wet. In this technique you paint on an already wet surface. The wet surface can be either just water, or still wet paint from a previous layer. The effect you get when painting wet-on-wet is a very smooth blending of pigments (the colour part of the watercolour paint) on the paper and a touch of randomness as the pigments spread. In this tutorial you are going to learn the wet-on-wet technique while we paint some fun colourful bubbles. Let’s get started!
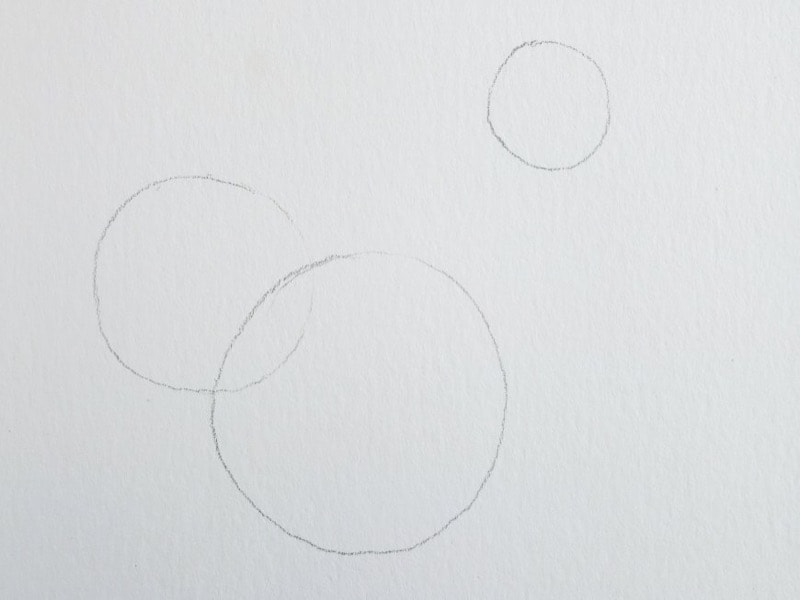
Step 1: Draw some bubbles
Using a pencil, lightly draw a few circles on your paper. Let some of them overlap a bit for a more realistic look. I will make my sketch a bit darker so that you can see it, but lighter pencil lines are better, so that you won’t see them in the final painting.
Tip: You cannot erase the pencil marks after you have painted over them.
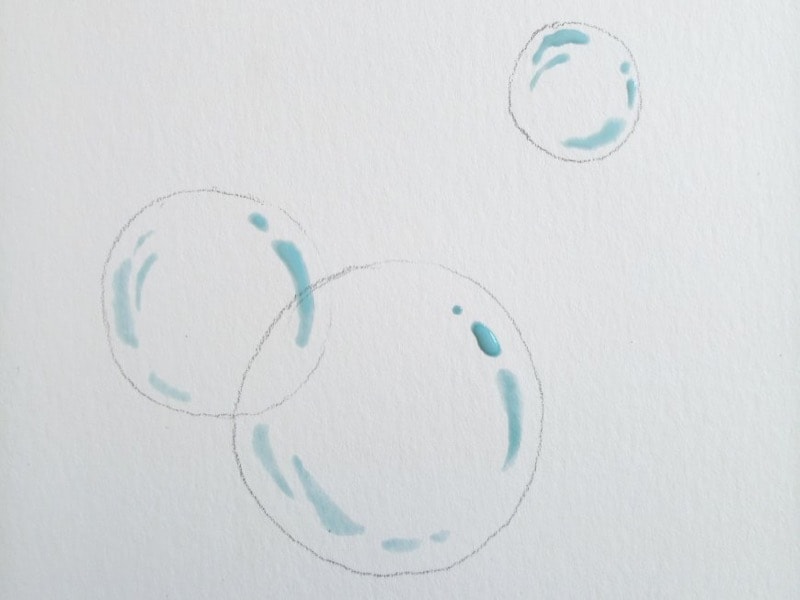
Step 2: Save some white space for light reflection
I am using masking fluid for this. Paint the masking fluid on and wait for it to dry. Then watercolour paint won’t stick to that part of the paper. Later when the paint is dry I will remove the masking fluid and white paper will remain. If you don’t have masking fluid, you can draw white reflections in at the very end with a white pen or white acrylic paint.
Tip: Watercolour paint is translucent, not opaque such as acrylic or oil paint. Therefore if you want white in your painting you have to leave a part of the white paper open.
Step 3: Wet the bubble with clear water
Carefully paint water over the bubble, leaving some dry paper in the centre of the bubble. We want the most colour on the outside and nothing on the inside.
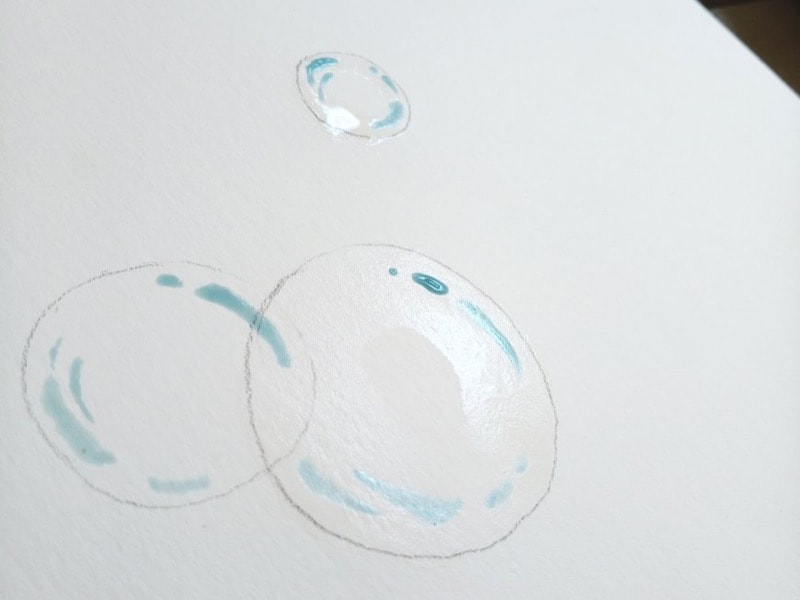
Step 4: Colour the bubbles
While the bubble is still wet, paint along the outside edge of the bubble. You can use any colours you want to. Keep to the outside edge only. The pigment will spread through the water on your paper, creating a gradient that gets lighter towards the centre of the bubble.
Tip: Painting with watercolour is painting with water and distributing pigments therein. The pigment will spread where the most water is. The real skill in watercolour is to control the amount of water on your paper. If you have too much, the paint will ooze and have a will of its own. Too little, and you won’t be able to spread the paint over the paper. Great control comes with practice and more practice.
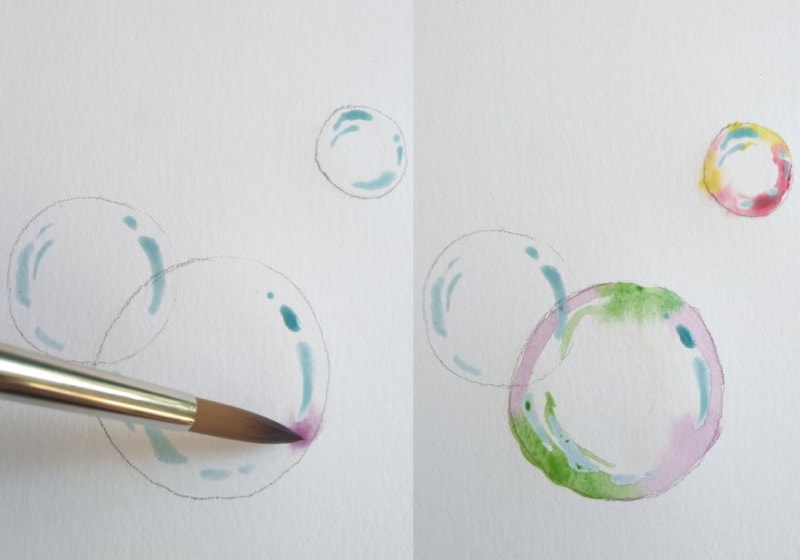
(In the last picture you can see that my paper has dried out a bit too much, since I stopped to take photos. The purple paint isn’t spreading.)
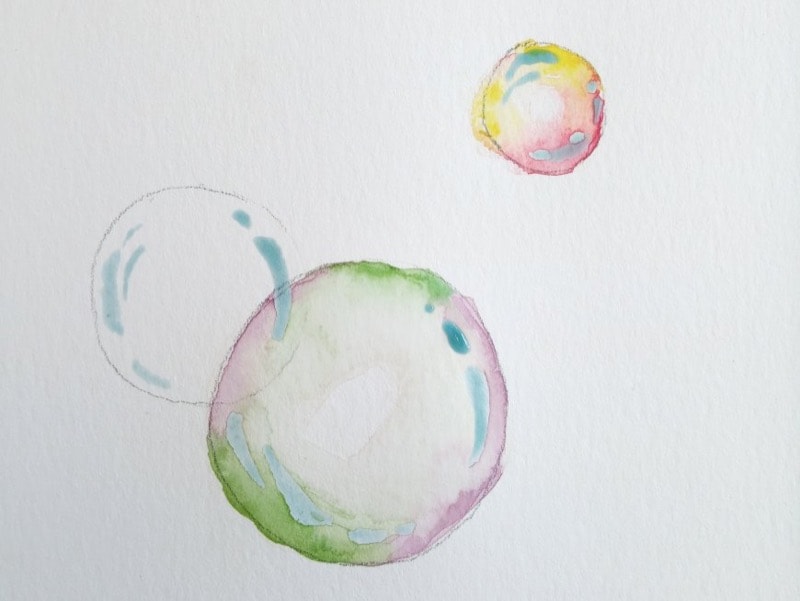
Step 5: Spread the pigment around
Using a clean damp brush, spread some of the pigment through the rest of the bubble to create a smoother colour gradient. Use your own discretion here, these are your bubbles and they can look however you want them to. Clean the brush regularly to keep your colours bright and clean.
Tip: If you have too much colour in the centre of your bubble you can remove this by dabbing at it with a paper towel. This will absorb the water and pigment, leaving a whiter space behind.
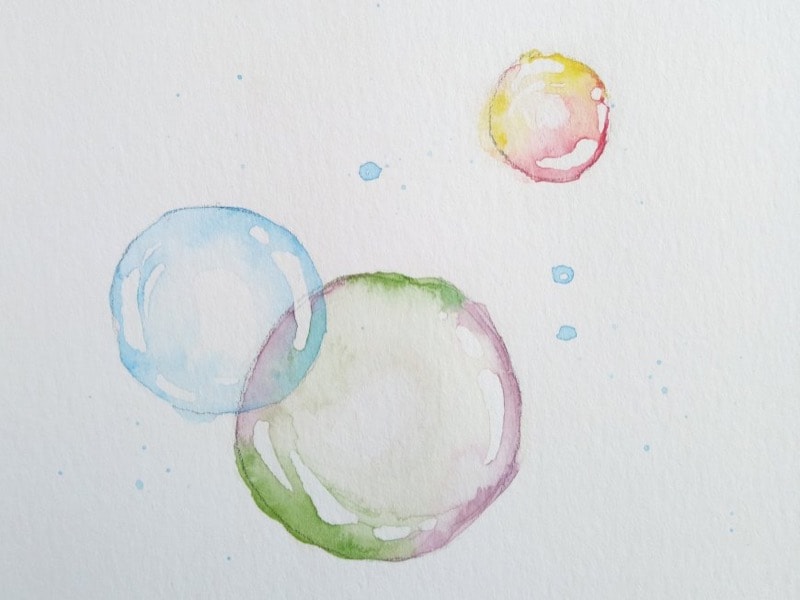
Step 6: Finishing touches for your white spaces
When the paint is completely dry, remove the masking fluid. You can do this by rubbing over it with a clean finger.
Alternatively draw in some white reflections with an opaque white paint / ink.
And you are done! Repeat this process with all of your bubbles. If you have overlapping bubbles, wait for the one to dry completely before you paint the next one over it. Otherwise your colours will mix and the bubbles won’t have a clear outline.
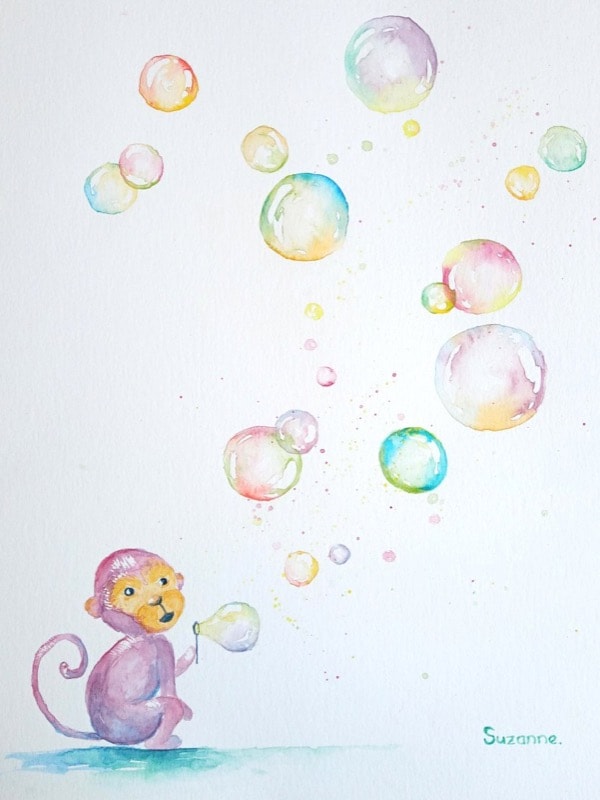
Go and practice this technique on more bubbles. Once you are comfortable painting wet-on-wet, you can take the skills learned here to make some lovely art. This technique is typically used to paint skies, clouds, water with reflections in, or loose style paintings where you don’t want precise lines and definitions. I used this technique for the entire painting of the monkey blowing bubbles.
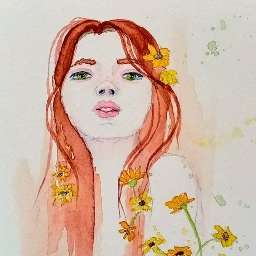
I’ll end this tutorial with a quick example of a flower that I made with this technique, following the same process as with the bubbles.

I hope that you enjoyed this tutorial. Happy painting!