

Mastering layers is one of the most powerful skills in digital art. This seven-layer method breaks down coloring into clear, manageable steps—from a simple silhouette base to final polish. Each layer serves a specific purpose, helping you build up color, light, and shadow systematically.
This technique works in any digital art software that supports layers and blending modes (Photoshop, Procreate, Clip Studio Paint, Krita, etc.). Whether you're coloring scanned sketches or working entirely digitally, this organized approach will help you create more polished, professional results.
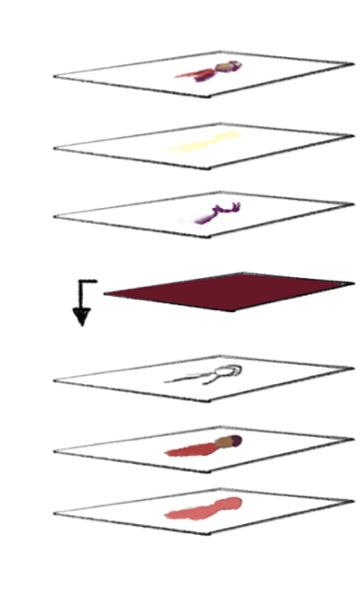
Let's break down each layer from top to bottom
Layer 7: This is the cleanup layer, and it is the last layer I add. On this layer, I paint over things to smooth or sharpen edges and refine line work, and just generally polish things up!

Layer 6: Light that’s hitting the subject painted in a light color with soft edges. This layer is set to soft light.
Layer 5: Shadows painted in a dark color. This layer is set to multiply.

Layer 4: Filled with a dark color that matches the pallet tone color on the bottom. This layer is set to screen and converted to a clipping mask so that it only affects the layer beneath it; its purpose is to add some color to the pencil lines.

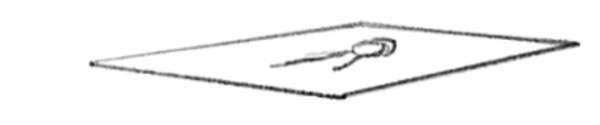
Layer 3: Pencil lines that I draw traditionally and scranned. This is set to multiply. I start with this layer and build the other layers out from it.

Layer 2: Local colors.
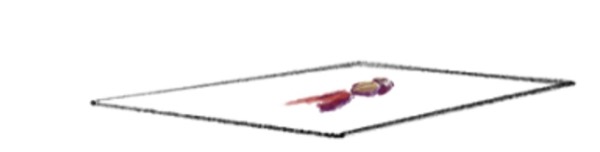
Layer 1: Silhouette of the drawing in the color that I want to set the tone of the pallet I’m using.

Practice This Method
The beauty of this layered approach is its flexibility—you can adjust, hide, or rework individual layers without affecting the rest of your artwork. As you practice this method with your daily challenges, you'll develop an intuition for how each layer contributes to the final piece.
Don't worry about getting it perfect right away. Experiment with different blending modes, try varying your shadow and light colors, and see what works best for your style. The more you use this systematic approach, the more natural it will become.
Now grab your stylus and give it a try!