


If you've ever struggled with stiff lines, shaky strokes, or a lack of control, these warm-up exercises can help loosen your hand, improve coordination, and make drawing feel much easier and more enjoyable.
Why warming up matters
Before drawing, it's important to take just a few minutes for warm-ups and hand-eye coordination exercises.
These simple drills loosen your hand and wrist, improve blood flow, and get your muscles ready for fine motor control. They also activate the connection between your eyes and hand, sharpening coordination and focus.
Without this preparation, your first lines often feel stiff, shaky, or inaccurate, and it can take a while before you "settle in." After warming up first, you start your session already loose and ready, making your drawing smoother, more precise, and more confident right from the first stroke.
Now that you know why warming up matters, let's look at some exercises to get you started.
Note on materials: Use inexpensive paper or a dedicated warm-up sketchbook for these exercises. Don't worry about saving these—they're just for practice and preparation!
Drawing exercises
These exercises work well in order, but feel free to focus on whichever ones feel most helpful. Even just 2-3 minutes on your favorites can make a difference.
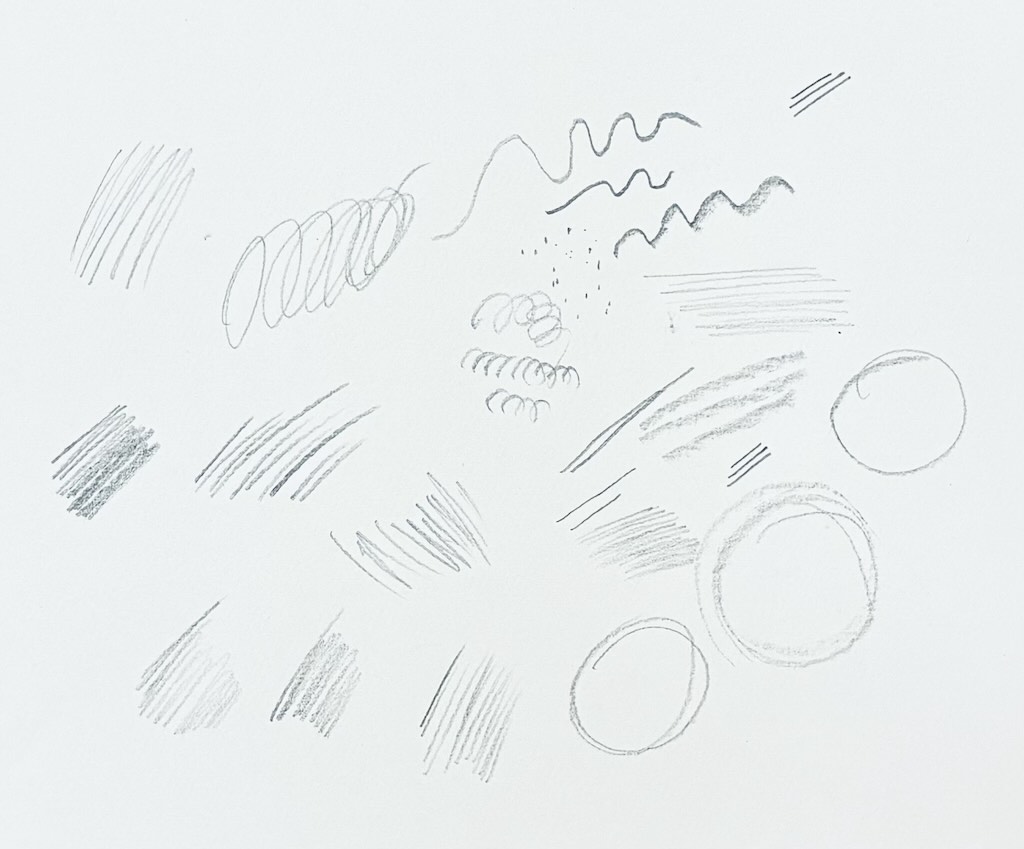
1. Free marks and scribbles
- Make scribbles, dots, zigzags, hatching, or stipples.
- Focus on loosening your wrist and hand.
- Experiment without worrying about perfection—this is about play and movement.
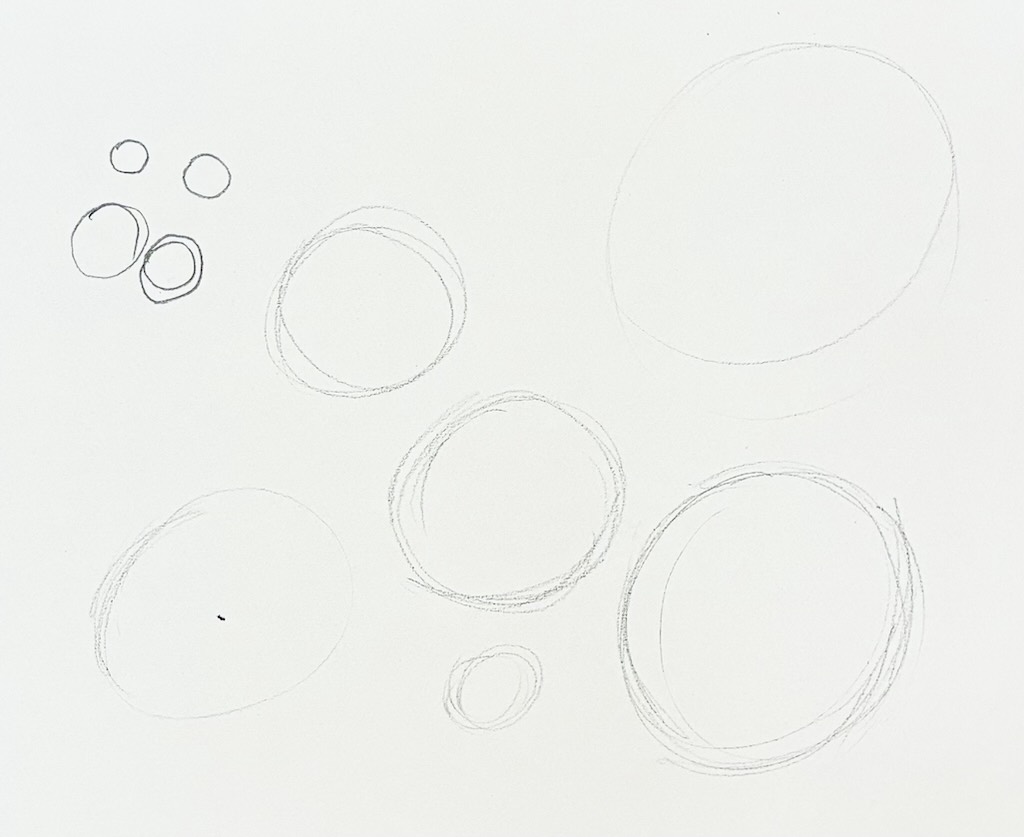
2. Circles and arm mobility
- Hold your pencil further from the tip to give more mobility to your arm, wrist, and shoulder.
- Draw circles of different sizes and pressures.
- Practice using your whole arm for larger movements—imagine your shoulder as the pivot point rather than drawing from your wrist. This creates smoother, more confident curves and helps prevent strain.
3. Experiment with materials and tools
- Try different tools (pens, colored pencils, markers, charcoal, brushes).
- Observe how different tools behave: how much ink or pigment they lay down, the textures they produce, and how they respond to pressure.
- Tilt or hold the pencil differently to create varied line qualities.
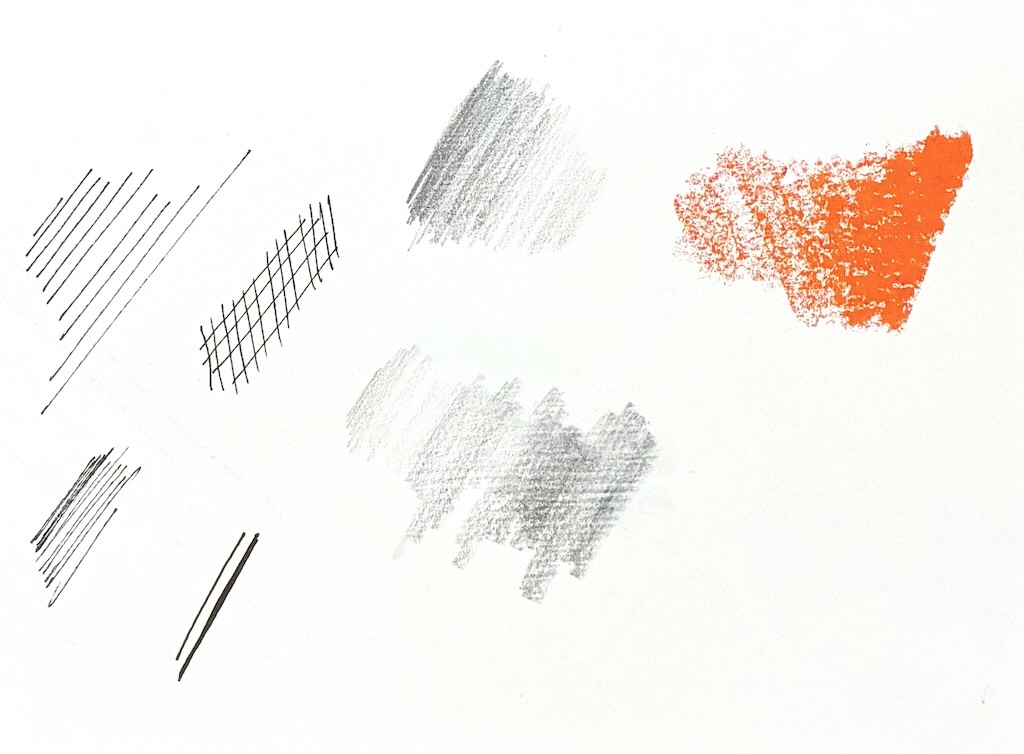
4. Line and medium exploration
- Practice making different types of lines (thin, thick, light, dark, close together, far apart).
- Experiment with varying line spacing, intensity, and pressure to explore the different effects you can create.
- Practice moving from light to dark and mixing techniques to understand how each medium behaves.
Give these exercises a try and see how your hand and pencil feel. With a little practice, your movements may become smoother, your lines more confident, and drawing more enjoyable. Have fun experimenting, and notice how much easier the pencil responds to your hand!